
Recognizing Magic: The Gathering cards with C++/OpenCV
posted on 10 Jul 2020Hey there!
As I mentioned before, my friend and I have a lot of MTG cards (about 9k each), so one of the things we want for the Warlock project (and for our own convenience) is to have some way of make it easier to keep track of all of them. It takes a lot of time to manually register each card in a system, and is boring as hell. I’ve googled a lot about detecting MTG cards and found some really cool prototypes by Timo1 and by Edmond Yoo2. One thing I’ve noticed is that people seem to use OpenCV with python a lot more than with c++, I think that’s because python is a more friendly programming language.
So currently the card detector is working with theses steps:
- Normalize input image;
- Find object contours;
- Identify possible candidates;
- Unwarp perspective;
- Match candidates against database;
I’ll show the image and code through each step. Another thing to notice, is that I don’t have any background on computer vision and all the code bellow as well as the results achieved, are based on things other people did, and trial and error. It’s possible that I’ve forgotten to give credit to someone, so if you notice it, please let me know so I can fix.
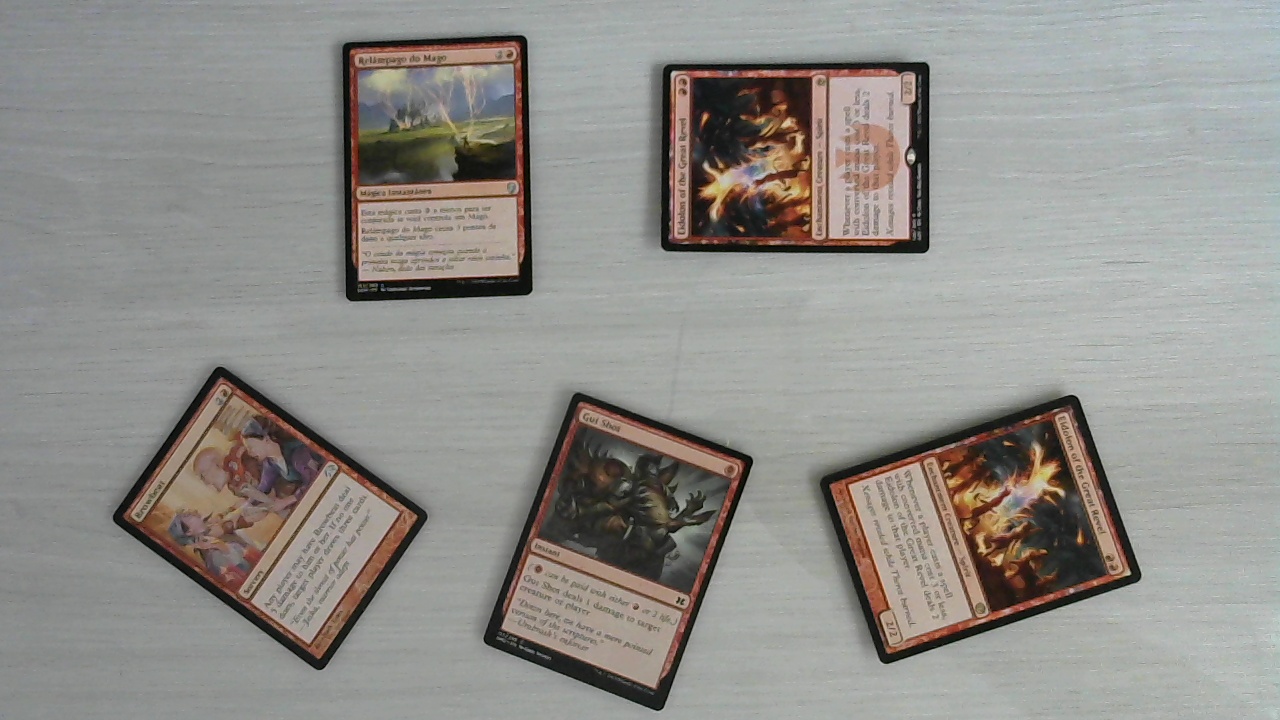
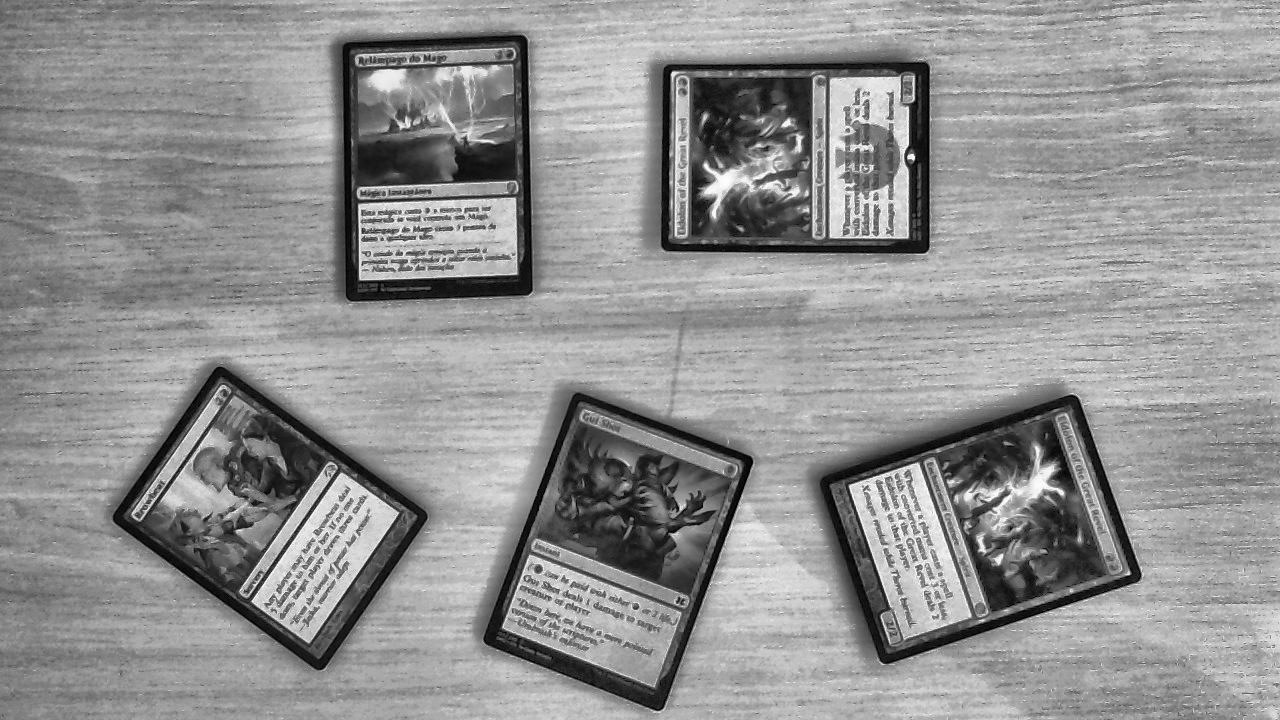
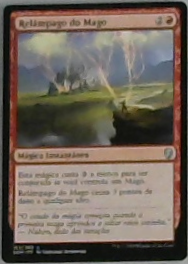
Here is the input image we’re using for initial tests:
Normalize input image
The first thing I did was normalize the input image, so we minimize lightning variations. I used the method mentioned by Timo1, that consists of a Contrast Limited Adaptive Histogram Equalization (CLAHE) applied only on Lightning channel of a LAB color space3 version of the image, to preserve perceived colors.
const auto clahe = cv::createCLAHE(4);
// convert to lab color space
cv::Mat labImg;
cv::cvtColor(src, labImg, cv::ColorConversionCodes::COLOR_BGR2Lab);

// Extract the L channel
std::vector<cv::Mat> channels(3);
cv::split(labImg, channels);  // now we have the L image in channels[0]

// apply the CLAHE algorithm to the L channel
cv::Mat dst;
clahe->apply(channels[0], dst);

// Merge the the color planes back into an Lab image
dst.copyTo(channels[0]);
cv::merge(channels, labImg);

// convert back to BGR
cv::Mat normalizedImg;
cv::cvtColor(labImg, normalizedImg, cv::ColorConversionCodes::COLOR_Lab2BGR);
Below there’re some images of the process
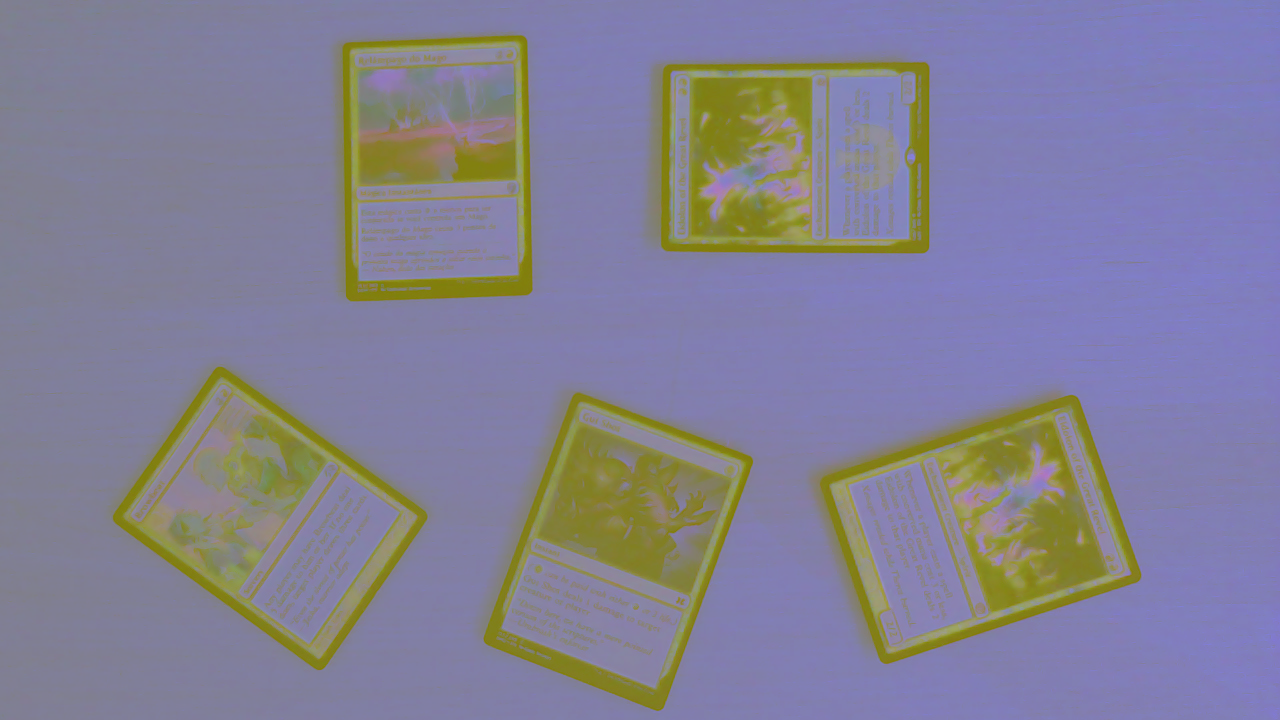
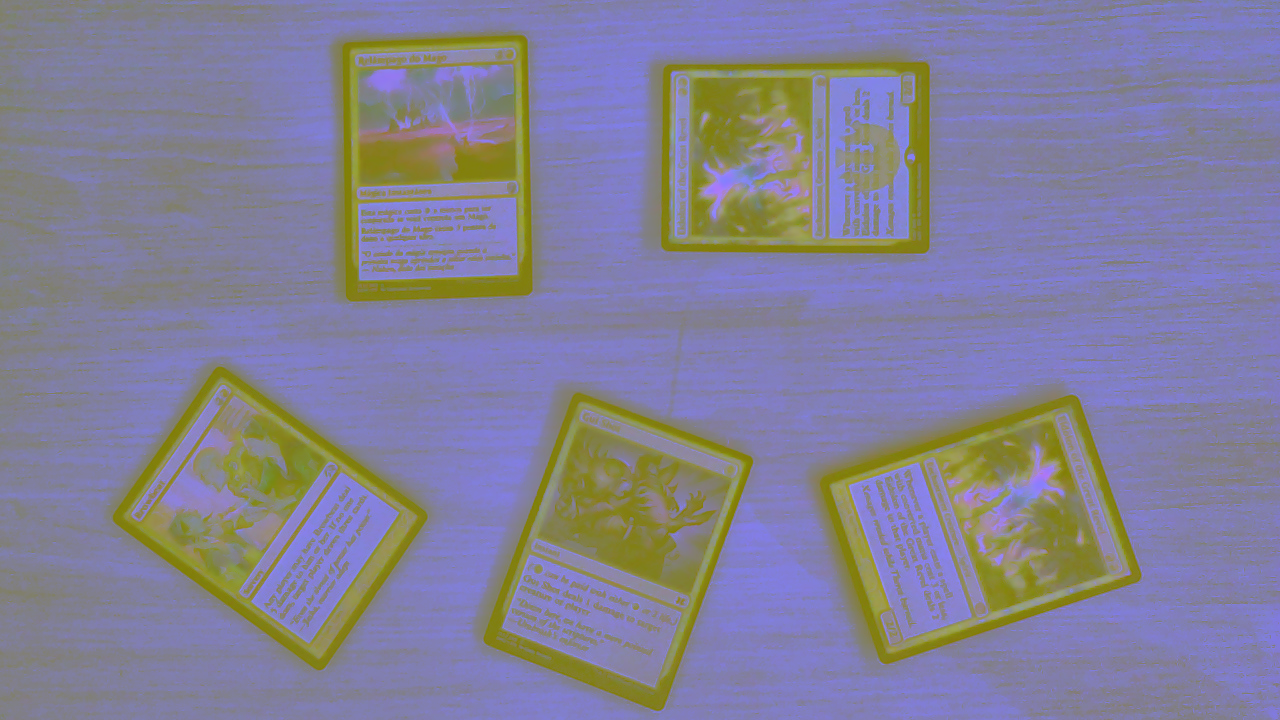
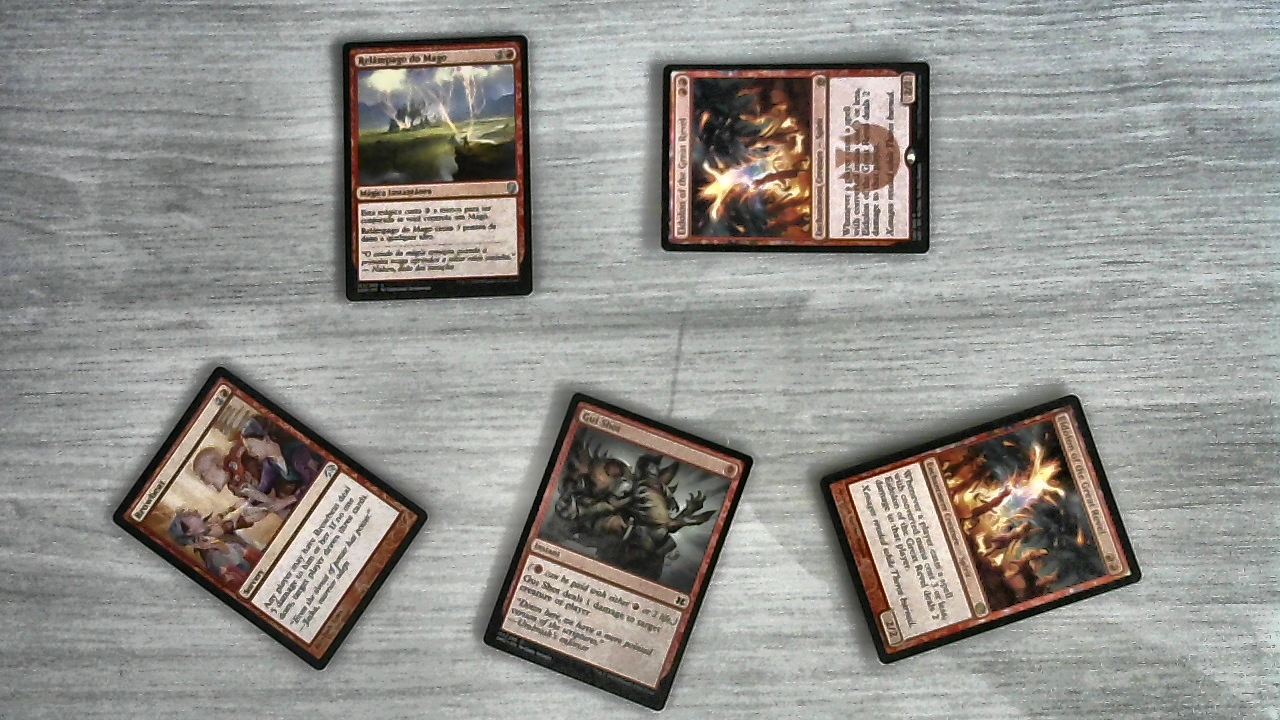
The resulting normalized image has a better contrast for identify the cards contours.
Find object contours
The next step is to make it easier for the cv::findContours function to find the cards contours,
and the colorful normalized image makes it hard. To make it easier, we convert the image to grayscale and apply a threshold
before finding contours.
// convert gray scale
cv::Mat img = src;
cv::cvtColor(img, img, cv::ColorConversionCodes::COLOR_BGR2GRAY);

// simple threshold
cv::Mat thresholdImg;
cv::threshold(img, thresholdImg, 55, 255, cv::ThresholdTypes::THRESH_BINARY);
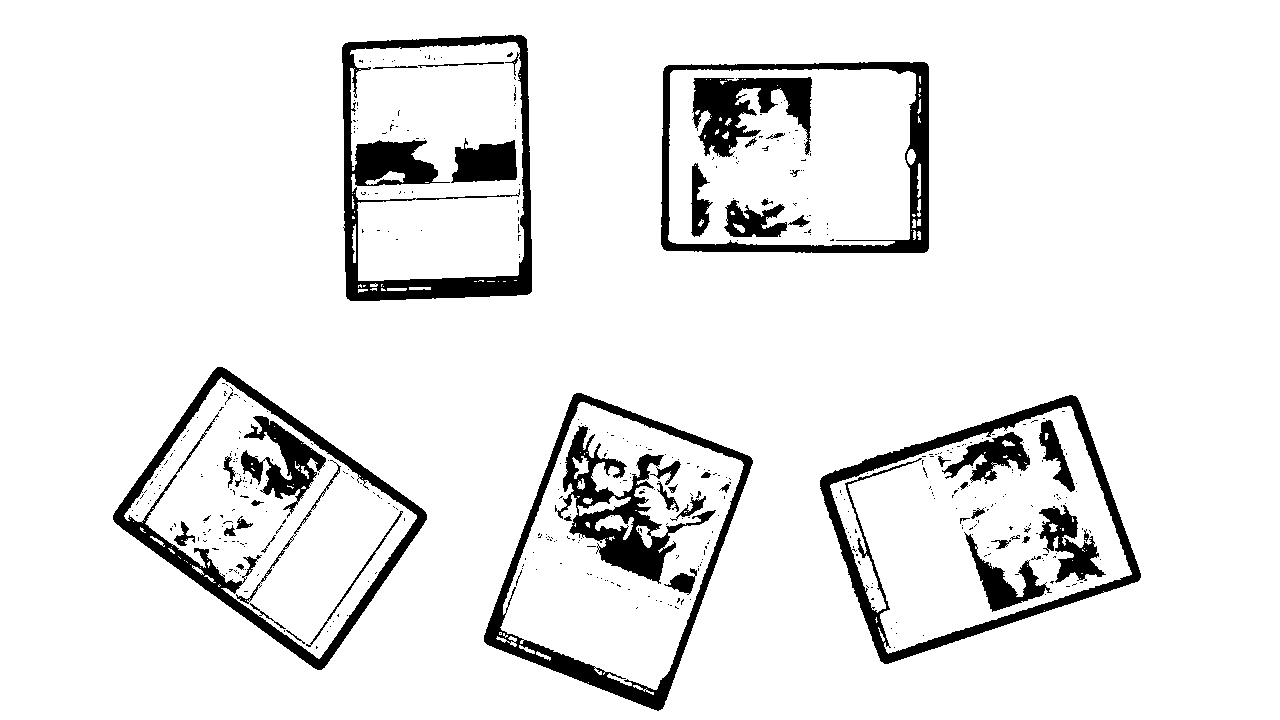
Now, with the threshold image will be a lot easier to cv::findContours identify the cards.
First I used cv::findContours with cv::ContourApproximationModes::CHAIN_APPROX_TC89_KCOS
(To be honest, I don’t know the Teh-Chin chain approximation algorithm, but the results seems to be better).
Then I removed tiny contours, sorted by area, and remove the greatest, as it will be the border from the image.
std::vector<std::vector<cv::Point>> contours;
cv::findContours(img, contours, cv::RetrievalModes::RETR_LIST, cv::ContourApproximationModes::CHAIN_APPROX_TC89_KCOS);

// remove tiny contours
contours.erase(std::remove_if(contours.begin(), contours.end(), [](const auto& contour) {
    return std::fabs( cv::contourArea(cv::Mat(contour)) ) < 100;
}), contours.end());

// sort contours by area from greatest to lowest
std::sort(contours.rbegin(), contours.rend(), compareContourAreas);

// remove the greatest contour, as it will be the border of the image
contours.erase(contours.begin());
Here are the contours drawn in the normalized image
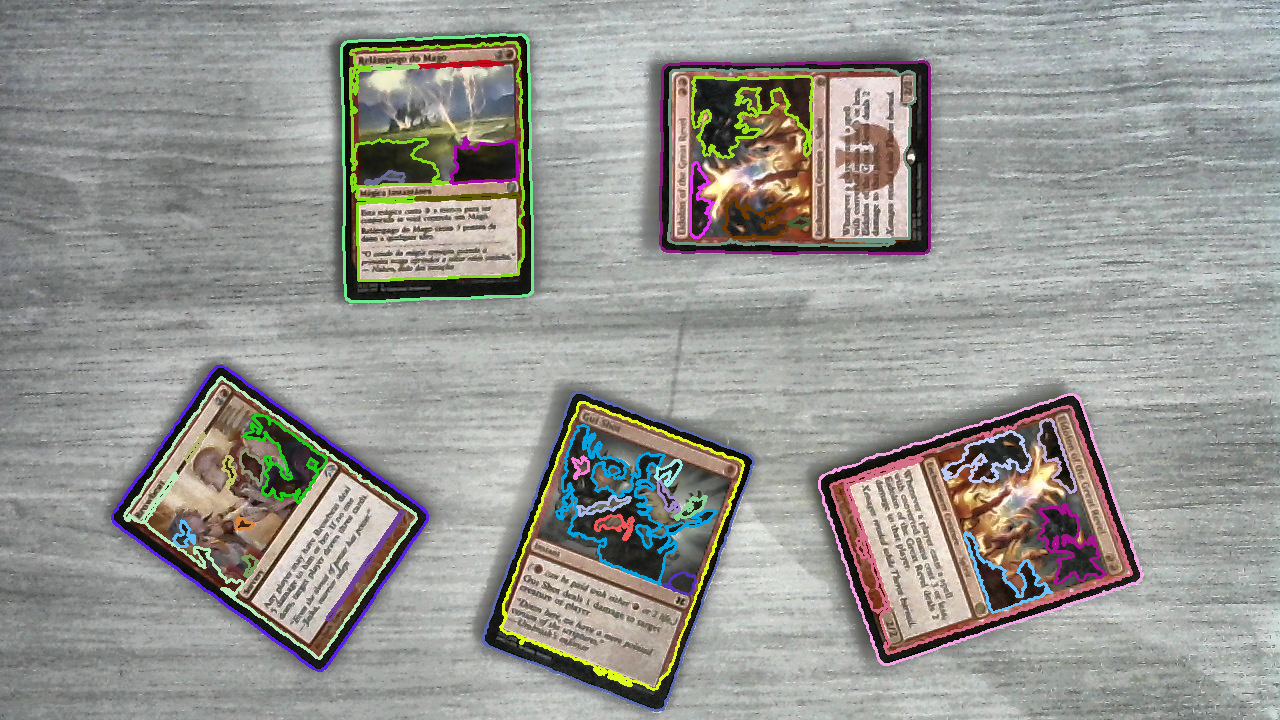
Identify possible candidates
As you can see, the contours aren’t only the card contours. It has art contours, card border, texts, a lot of things.
So to keep only the card contours, we go through each contour, get a rotated rectangle that contains that contour with cv::minAreaRect,
and check if it’s inside another contour. As soon as we find a contour inside another, we can stop the loop.
for (const auto& contour : contours) {
    const auto boundingRect = cv::minAreaRect(contour);

    if (boundingRect.size.area() < cardAreaLimit) {
        break;
    }

    bool isInsideAnotherCandidate = false;
    for (const auto& candidate : candidates) {
        if (contains(candidate.contour, contour)) {
            isInsideAnotherCandidate = true;
            break;
        }
    }

    if (isInsideAnotherCandidate) {
        break;
    }

    ...
At this point I’ve noticed that I could have used cv::RetrievalModes::RETR_TREE in cv::findContours
to process the contours hierarchically and achieve the same results, but it looks a lot easier this way.
Maybe I’ll change that in the future.
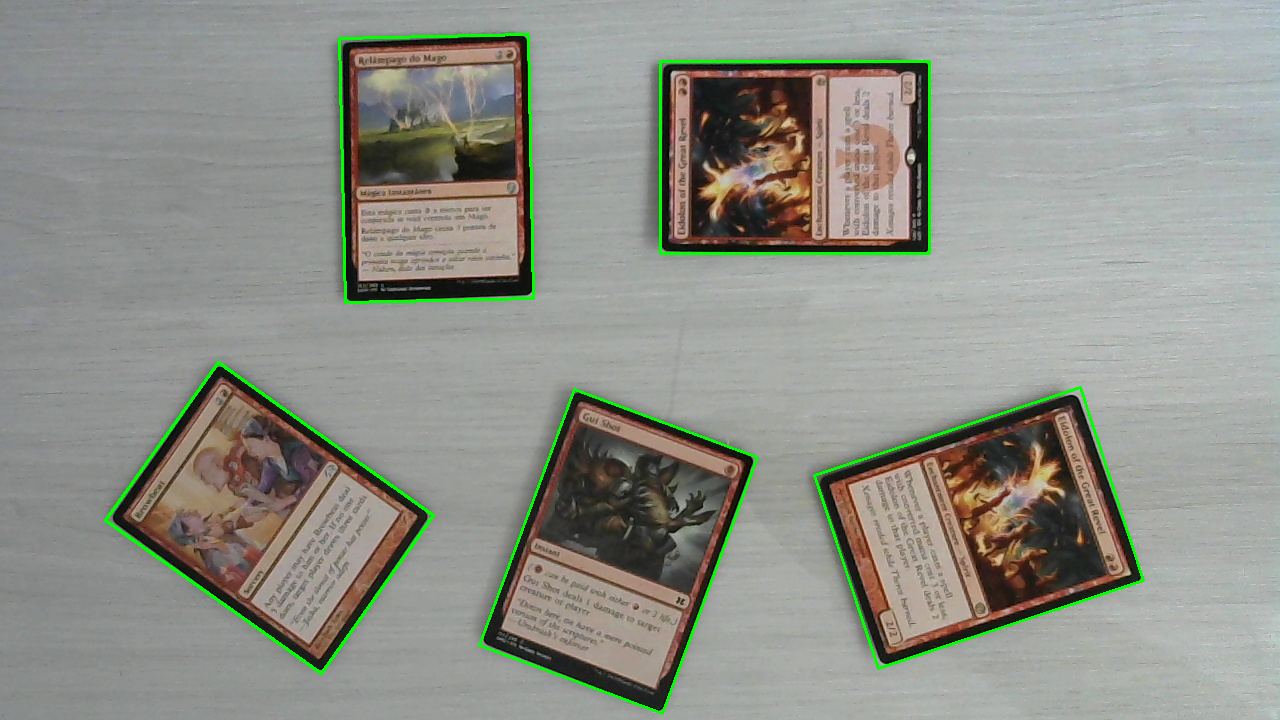
Unwarp perspective
The next thing I did was to unwarp the card perspective to compare later with the reference images. To do this, we extract the bounding rect points and find the closest contour point to each point of the bounding rect.
std::vector<cv::Point2f> src(4);
boundingRect.points(src.data());

// get contour points
src[0] = getClosestPoint(contour, src[0]);
src[1] = getClosestPoint(contour, src[1]);
src[2] = getClosestPoint(contour, src[2]);
src[3] = getClosestPoint(contour, src[3]);
The reason to this is that the points order must match to cv::getPerspectiveTransform works correctly,
so the top-left point of the source will be the top-left of the destination image.
Another thing we want, is that our card candidate to be vertically oriented (height > width), since all of ours reference images have this orientation.
To fix the orientation, we just rotate the source points vector one time.
const auto width = std::min(boundingRect.size.height, boundingRect.size.width);
const auto height = std::max(boundingRect.size.height, boundingRect.size.width);

std::vector<cv::Point2f> dst(4);
dst[0] = {0, height-1};
dst[1] = {0, 0};
dst[2] = {width-1, 0};
dst[3] = {width-1, height-1};

if (width == boundingRect.size.height) {// horizontally orientated
    std::rotate(src.begin(), src.begin() + 1, src.end());
}
With the source and destination points vectors created, we can call cv::warpPerspective for each candidate.
const auto M = cv::getPerspectiveTransform(src.data(), dst.data());
cv::Mat warped;
cv::warpPerspective(input, warped, M, {static_cast<int>(width), static_cast<int>(height)});
Below are the five candidates before and after the unwarp:
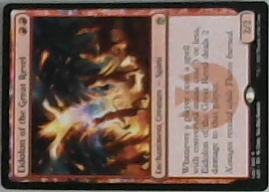
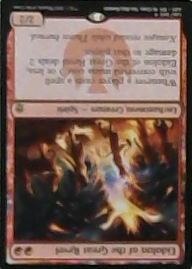
Now each candidate is ready to apply the perceptual hash4 and compare with de database.
Match candidates against database
To find similar images, the technique used was perceptual hash4, and OpenCV already has some algorithms in OpenCV-Contrib,
inside cv::img_hash namespace.
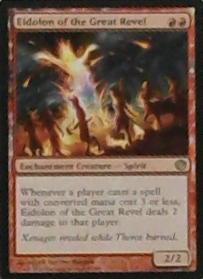
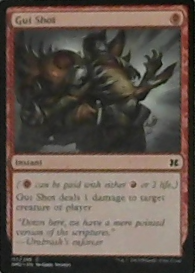
First I downloaded all images from scryfall and pre-calculated the hash for all images and stored in a MongoDB.
Mongo it’s already been used for other things, makes sense to store the hash in the card document too.
If you notice the unwarped images, one of them is upside down, I did not want to spend more time at this moment fixing it, as it was easier to compare the candidates hash twice against the database, one as is and another flipped.
for (int i = 0; i < candidates.size(); i++) {
    const auto& hash = candidateHashList[i];
    const auto& flippedHash = flippedCandidateHashList[i];

    const auto s1 = d->hasher->compare(hash, hashRef);
    const auto s2 = d->hasher->compare(flippedHash, hashRef);

    if (s1 < matches[i].score || s2 < matches[i].score) {
        matches[i].score = std::min(s1, s2);
        matches[i].name = name;
        matches[i].set = set;
        matches[i].uuid = uuid;
    }
}
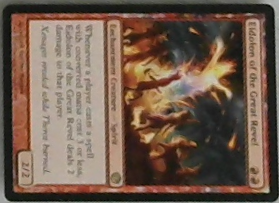
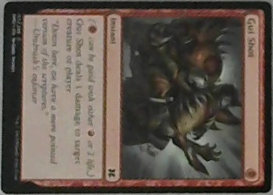
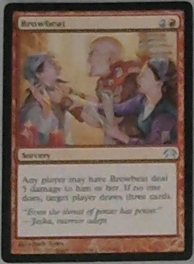
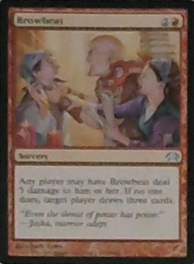
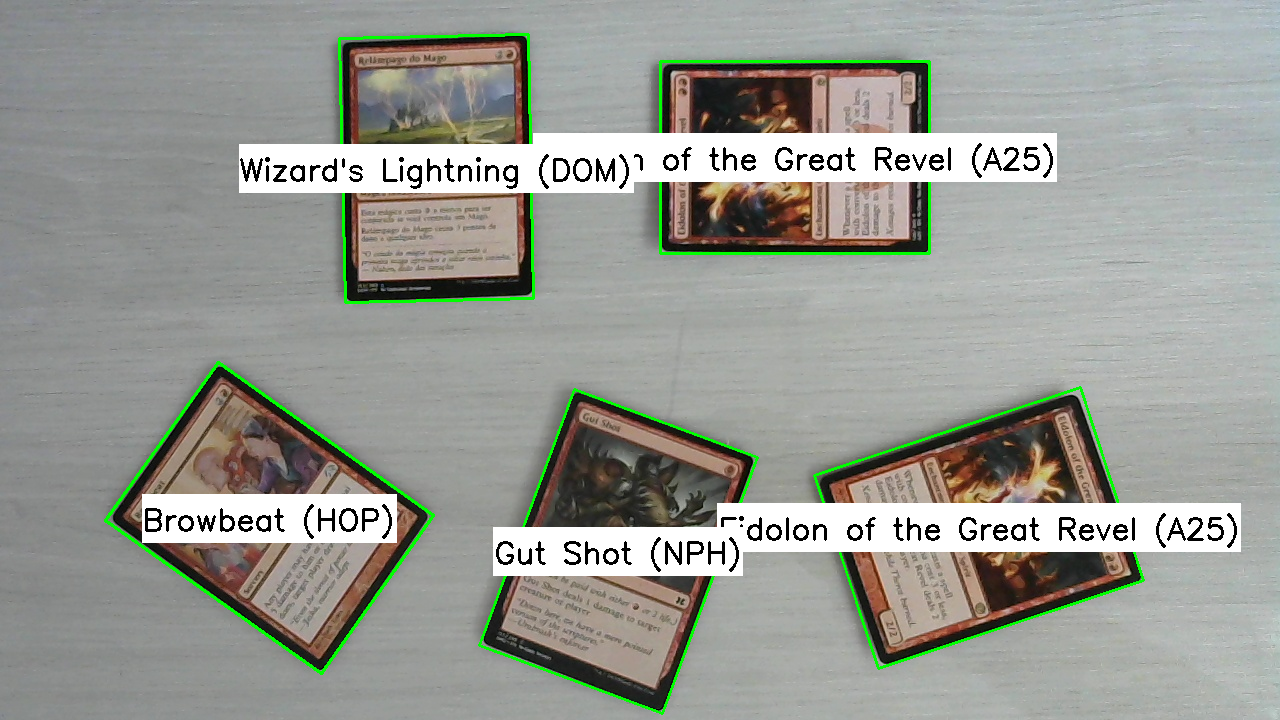
I’m not making any verification of hash distance or something, just finding the closest hash. So, we got this as result:
I was happy with the initial result, but still there’s a lot of improvement to be made. It’s not identifying the set correctly, for this I’m thinking to compare just the set symbol to see what I can get.
Another thing I’ve noticed is that when the lightning is poor, the hash distance isn’t enough. For example, a Grim Lavamancer and a Death’s Shadow were both identified as Dark Ritual =D. Maybe histogram comparison might help here.
Something I definitely want to do is OCR of the card name, and some text distance like Damerau-Levenshtein5, to use it as another metric to identify correctly the card.
That’s what I have for now, any criticism or suggestion is welcome!
References
Categories: #warlock #magic-the-gathering #c++ #opencv #update